You only need a dip pen, nib, ink, and paper to actually start calligraphy, but there are some other tools that will help you along the way. When I was first starting out, I would run into problems and someone would tell me, oh you can use to get around that problem! So I’m starting this running list of supplies that I’ve found to be handy while doing calligraphy. A lot of these things you might already have around the house so you won’t have to pay too much out-of-pocket to get started!
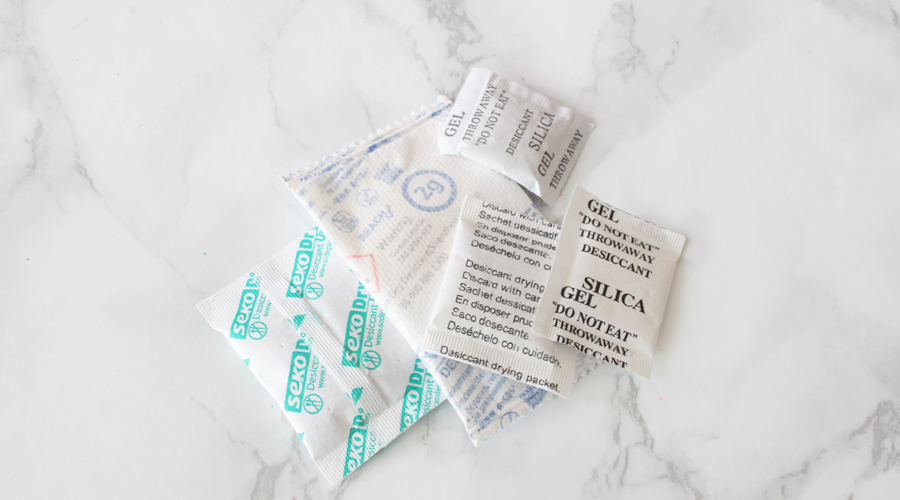
#1. Silica gel packets – You’ll find them in shoe boxes, and random things you buy so whenever you buy something always check the packaging to see if it has silica gel packets inside. These gel packets work wonders when it comes to absorbing moisture, so you definitely want to keep these with your nibs. The last thing you want is find rust on your favorite nib! So beg, borrow, and steal these life savers whenever you see them. I experienced the power of silica gel packets first hand when dropped my old phone in water. I could actually see all the water under the display and had half given up on ever using it again. My coworkers had advised putting it in a zip lock bag with rice. Nothing happened. Google told me to put it in a zip lock bag with a silica gel packet, and it absorbed every last drop of water that had gotten into my phone. I still have that old phone in a drawer somewhere and it still works!
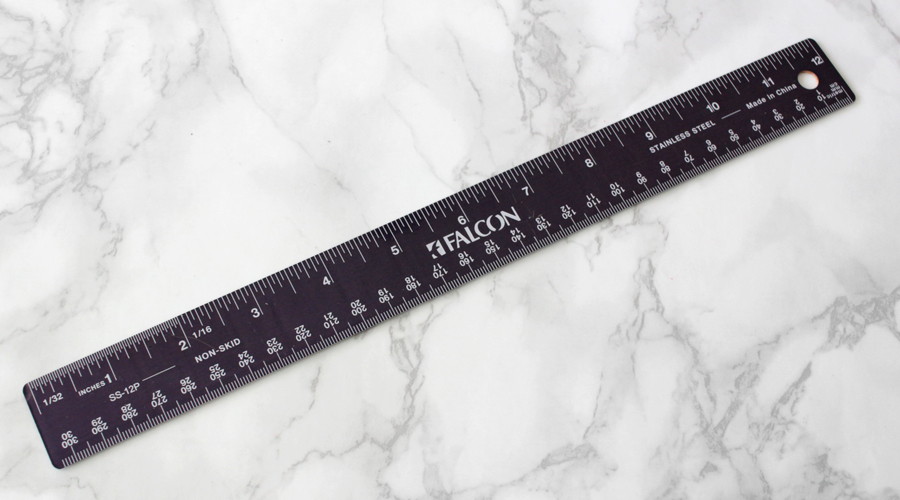
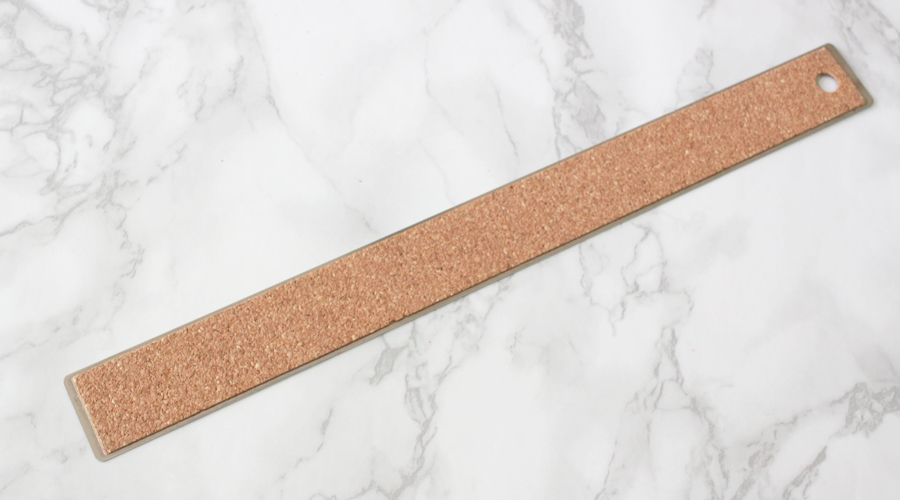
#2. Ruler – You need a ruler for drawing guidelines and slope lines that you need for practicing. You can print guidelines out on calligraphy paper, but you’ll inevitably need a ruler at some point while doing calligraphy as with pre-made guidelines: one size does not fit all. I’ve had this ruler since college and I like that it has a cork backing so it’s not slipping and sliding on my paper.
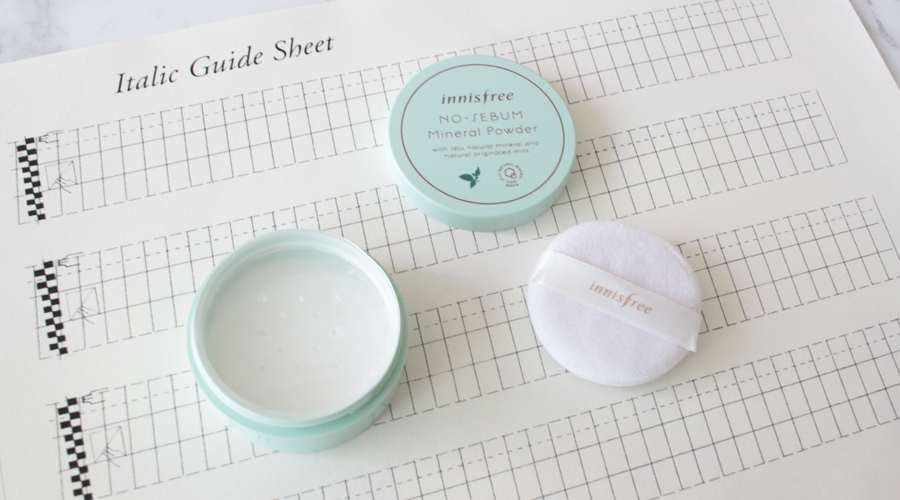
#3. Blotting Powder – Some paper can be slippery due to oils on the surface, so a bit of blotting powder will do the trick. Some people use baby powder wrapped in a cloth, but I find it simple and easy to use the no-sebum mineral powder by Innisfree with the puff it came with. I basically get the powder on the puff and rub it across the surface of the paper. Traditionally, blotting powder was called pounce and made from powdered cuttlefish bone. I actually tried ordering cuttlefish bone and ground it up into a powder but the fishy smell was so overwhelming I ended up throwing it out. So I stick with modern blotting powder.
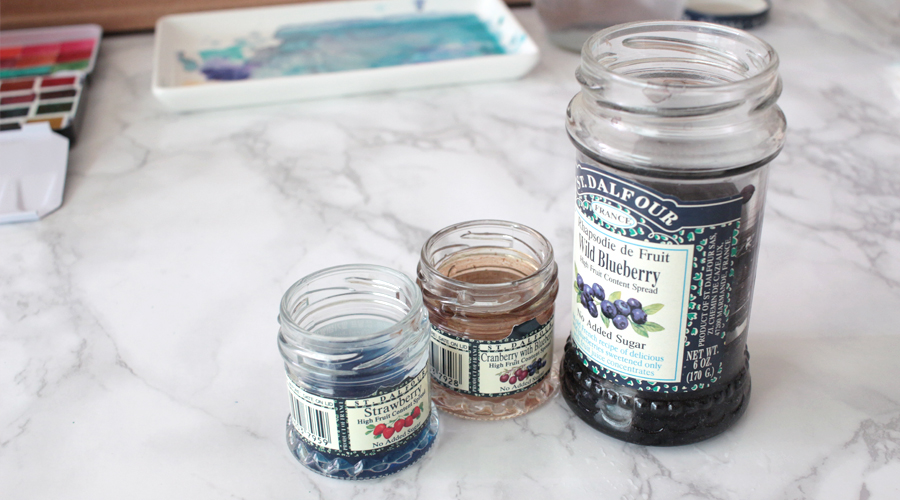
#4. Jam Jars – Empty jam jars are perfect to use as water jars. Every once in a while you need to dip your nib in water, and you definitely need to clean it out before putting it away. You could use any empty container really, but I like using jam jars because they won’t tip over easily and come with lids. Which brings me to my next point-
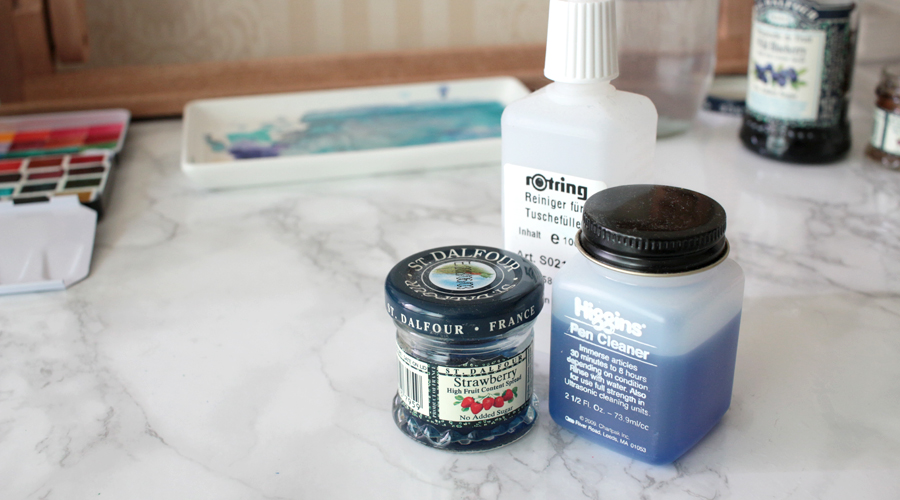
#5. Pen Cleaner – Every once in a while you may need to give your nib a thorough cleanse. I poured out some cleanser into a mini jam jar so that I could use the same cleanser a few times before throwing it out. The only precaution you should take if you plan on soaking your nibs for a while is to set an alarm. I once completely forgot that I was soaking my nib and didn’t remember until it had started to rust. Heartbreaking really.
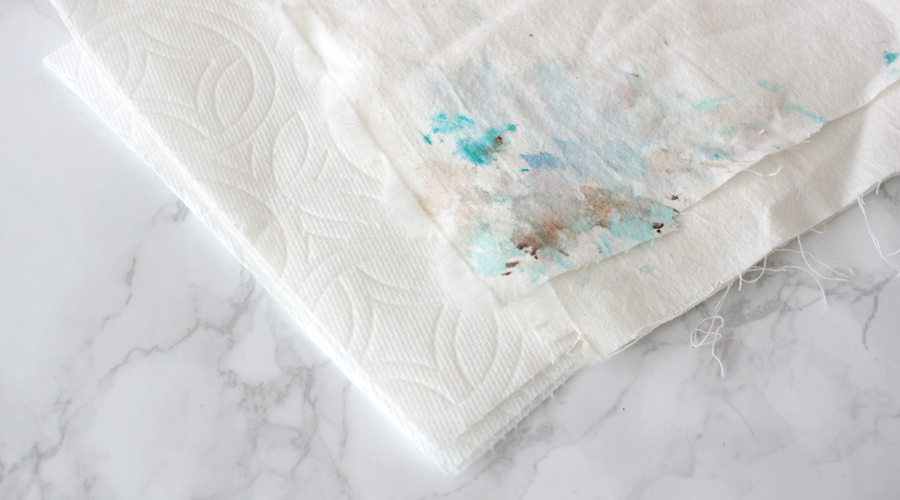
#6. Paper Towels & Cloth – Whether dealing with ink or paint, it always pays to have paper towels on hand for emergencies such as dripping or spilling. These days I’ve been using a cloth to wipe off my nibs and paint brushes, but before I just used paper towels taking care not to get it caught between the tines of my nib.
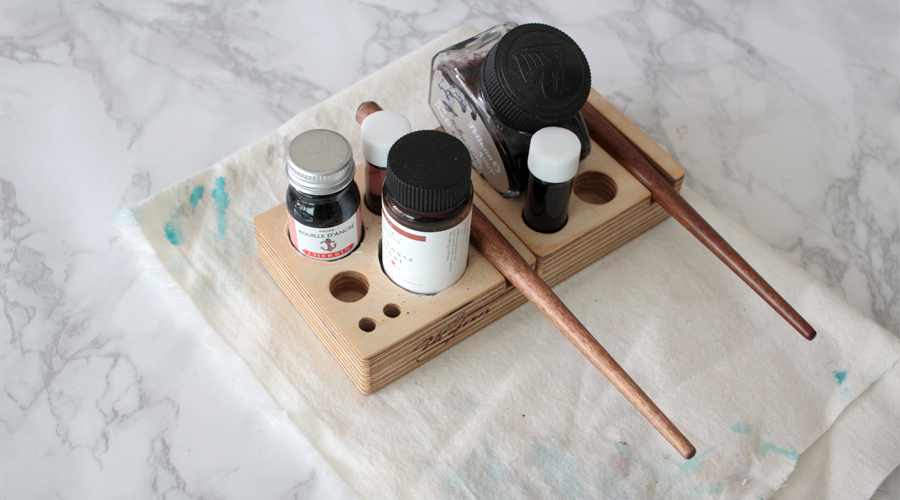
#7. Ink holder (a.k.a Dinky dips) – If you can get an ink holder, I highly recommend doing so! Spilling ink is a nightmare so it’s nice to have something to hold your inks so you don’t accidentally knock them over.
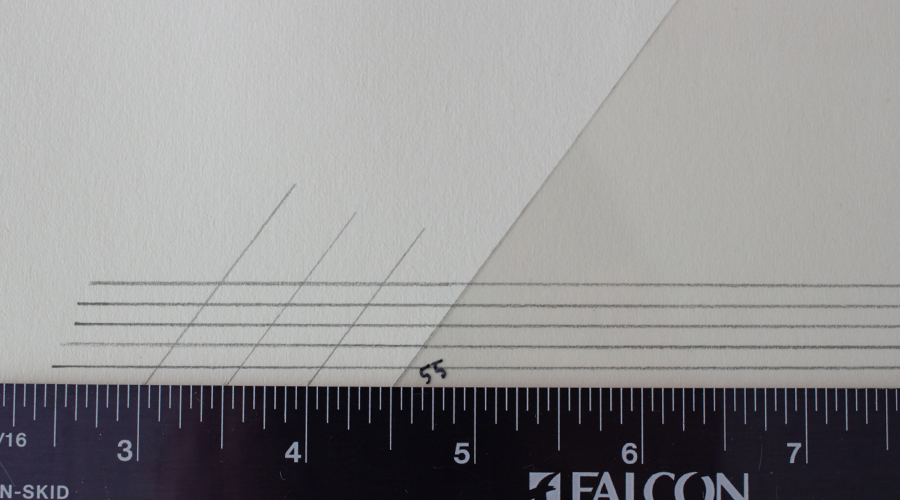
#8. Slope Ruler – If you like to draw your own guidelines or need to add slope lines to your practice pad, then it can be handy to have a slope ruler. I made this one out of OHP film which you can find at most office supply stores (ask if you can buy individual sheets rather than a whole box). I measured out the angle of the slope with a protractor, then cut the angle with an exacto knife. This way I don’t have to measure out the angle on the page every time I’m drawing slope lines!
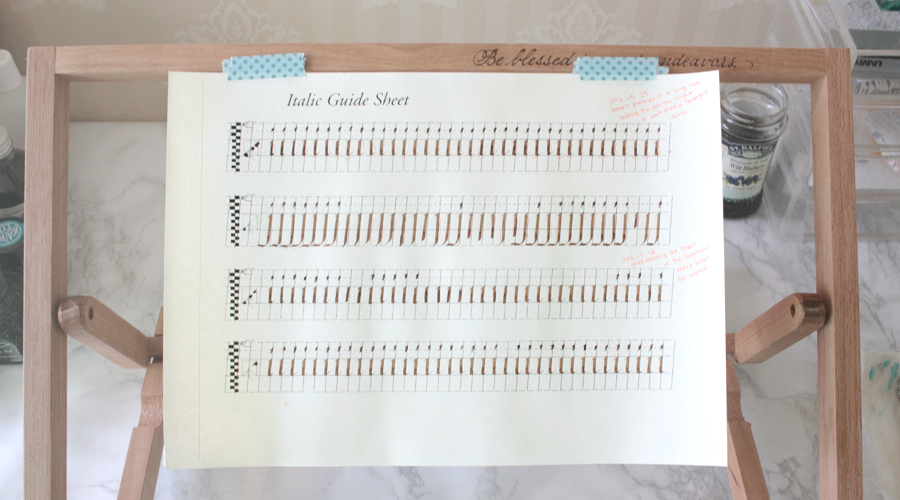
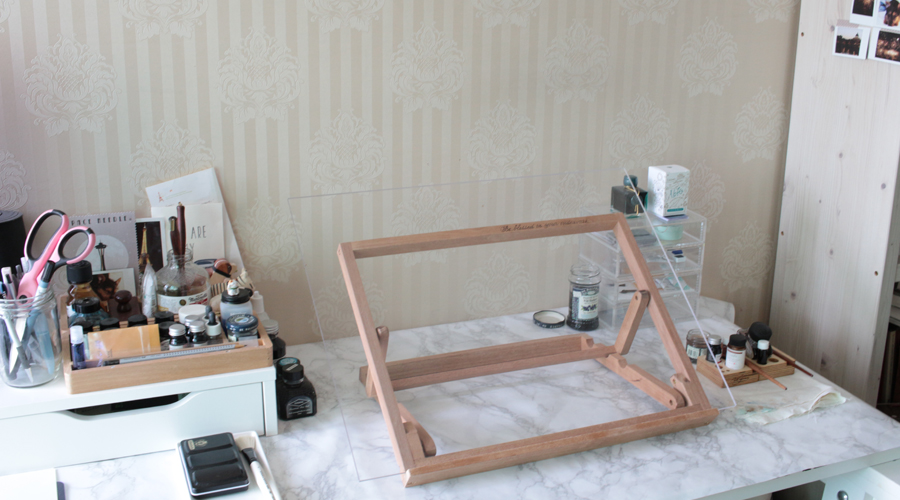
#9. Slopeboard – This wooden easel is called a slopeboard and you only really need it if you’re planning to get serious about learning Squared-edged nib calligraphy. If you’re planning to do Modern calligraphy or Copperplate you don’t need a slopeboard as you can just write it on a flat desk. Don’t put this on your priority list if you’re just starting out, because you might try Italic or Gothic a few times and find that it’s not really your thing. If you’re absolutely determined to master Italic or Gothic, then I would look into various calligraphy suppliers and inquire at local calligraphy groups regarding slopeboard options. I bought mine from a calligraphy teacher here in Korea who had specifically designed this slopeboard for portability. She engraved one of my favorite quotes from the book The Thief into the wood for me, and I love it because it’s sort of like my mantra. When practicing, I use washi tape and tape two sheets of paper under the paper that I’m actually practicing on, so that I’m not writing on a completely hard surface. After writing the first two lines, I move the paper up so that I can write the bottom part comfortably.
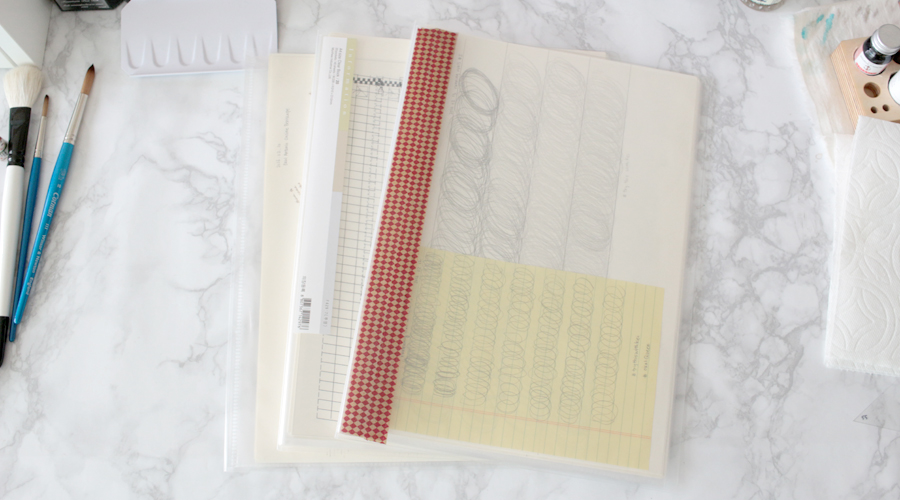
#10. Clear File Folders – As you learn and practice calligraphy, you quickly start to accumulate a lot of paper. I used to just toss them into a shopping bag like this:
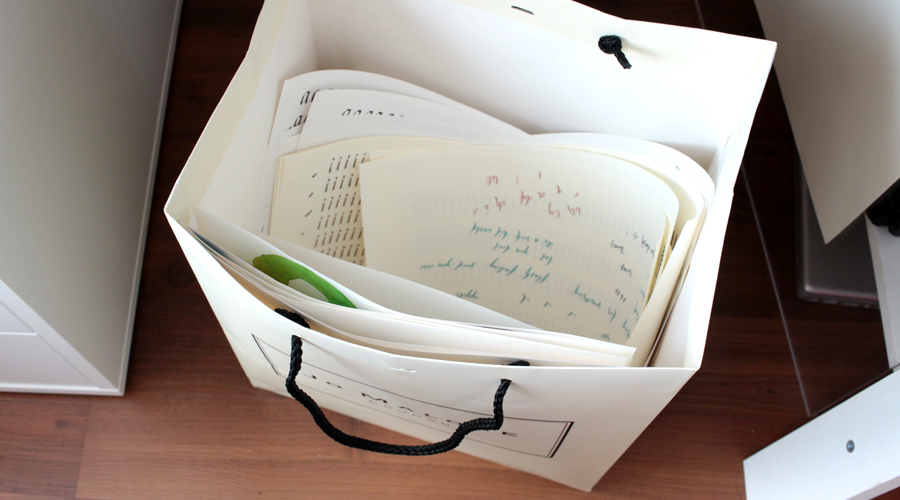
Ok, to be honest I still do toss a lot of random pages of scribble in there, but now I do file away some of my practice sheets to keep track of progress.
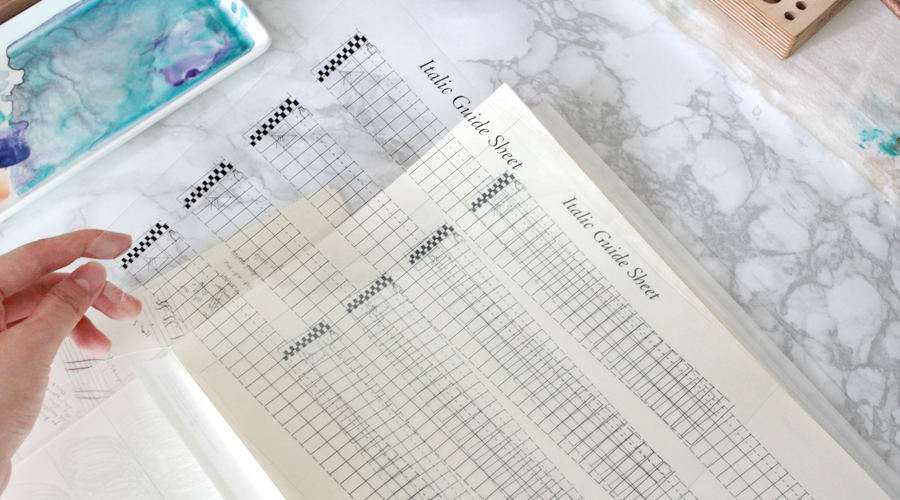
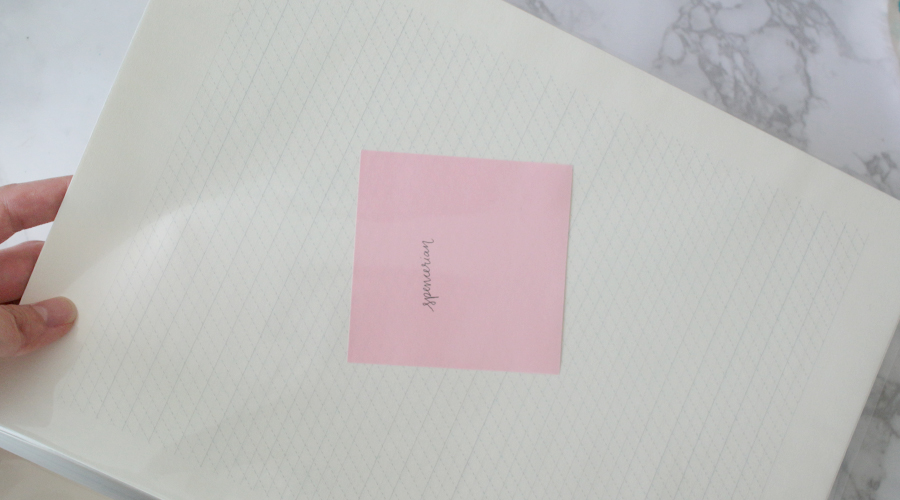 File folders also come in handy for storing guidesheets. I like to print out multiple copies at once, so I don’t have to get on the computer to print one every time I feel like doing calligraphy.
Your Turn ♥ Have you tried calligraphy? If not, what’s stopping you? ;)

