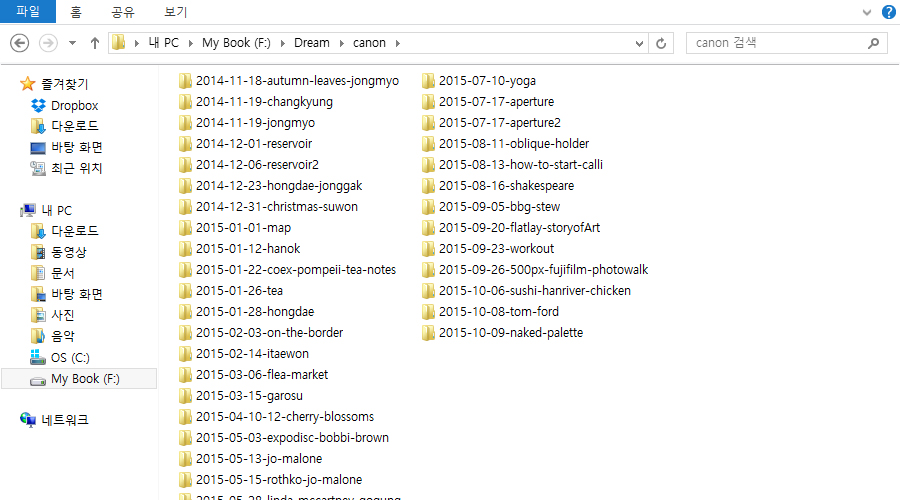
It pays to be organized with your photos, because once they start to add up your image count can easily reach the thousand mark. I’ve been organizing my photos since 2010, and overtime I’ve come up with a system that works best for me. This is an external drive that I’m using and I’ve basically created a folder called Canon. I like to have separate folders for separate cameras so I can keep track of which was taken by which camera.
Whenever I’m downloading photos from my camera to my external, I create a new folder with the date and a couple of key words. Sometimes I don’t get around to uploading the photos right away so I’ll have anywhere between 1~4 photography sessions on my memory card. I don’t bother making separate photos though, because that’s a lot of extra work and I end up not bothering to label anything. So I set myself up for success and just use the date I upload the photos and add keywords that will help me see in one glance what photo sessions are inside the folders.
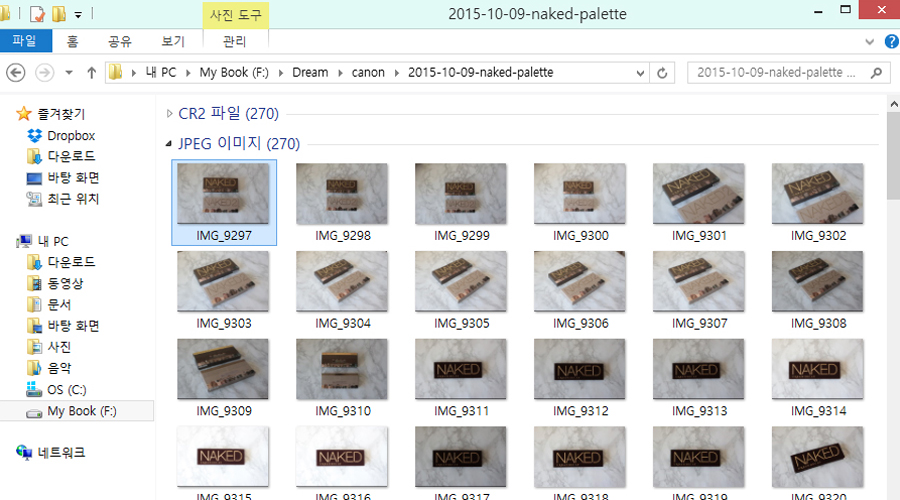
After I dump all the photos in the folder, I like to sort them by file type. You don’t have to worry about this if you don’t shoot Raw+JPG. By default you will probably be shooting JPG format images. As you can see, I tend to take the same photo several times. I tweak the angles, I try different exposures, and if there are minor things I can fix by reshooting a photo I do it right away. It’s much easier to move a camera strap, or something in the corner of my desk away and retake the photo than it is to try to edit it in Photoshop. Because the former takes a few seconds, while the latter could take more time than you anticipated.
If you’re wondering, why not just take the photo once and take it again if it looks bad on the computer? It’s because I prefer to use natural lighting, and natural lighting is a bit finicky. It’s best before 10am and if there are clouds passing in front of the sun the lighting can change every few seconds. So it’s easier to take a lot of photos and use the best one, than take one photo and have to retake it again the next day.
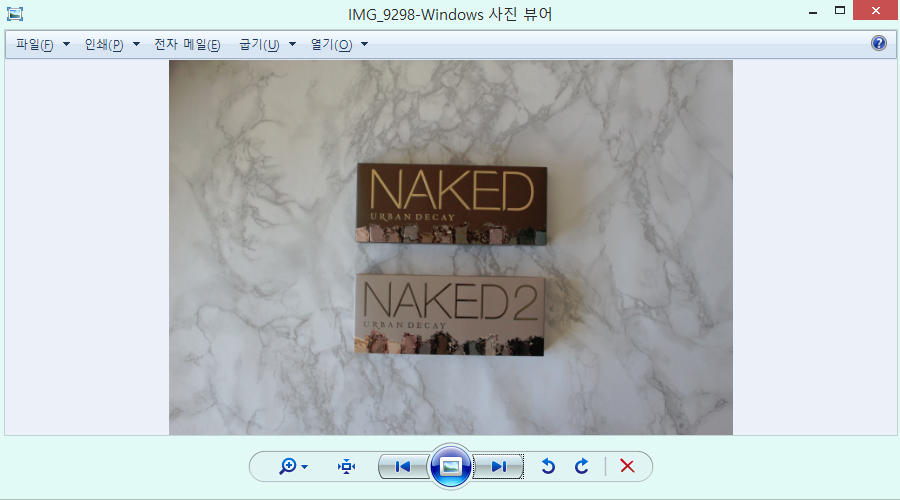
I just open one of the photos in the Windows Photo Viewer and use the arrow keys on my keyboard to quickly go through the photos. I know some people like to use a photo program to browse through photos, but to be honest I feel like those types of programs tend to lag and you have to install another program besides. I don’t want to wait for a program to load an upward of 300 photos, so the default Windows Photo Viewer works just fine for me. Once I decide which photo to work with, I right-click and use the Open With menu to open the photo in Photoshop.
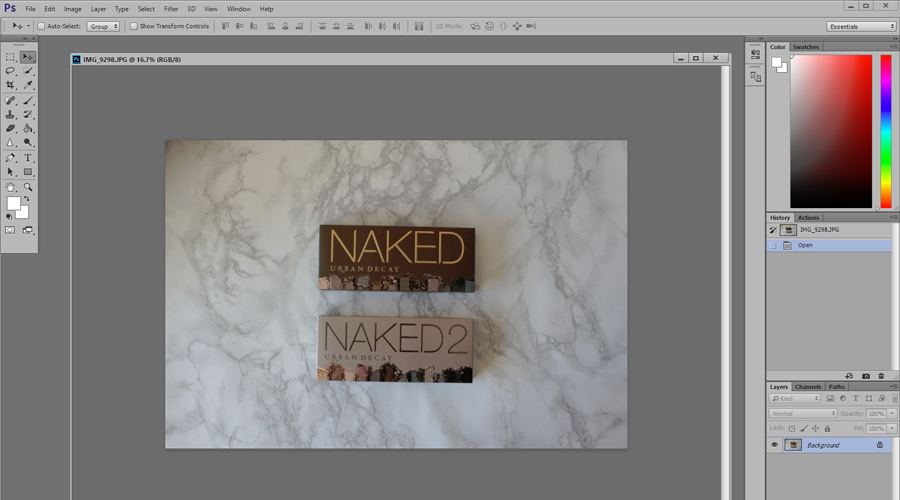
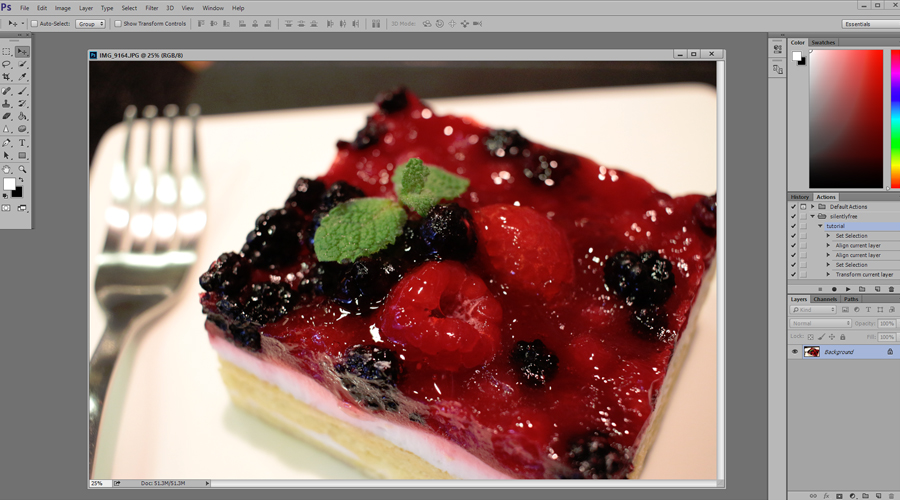
After opening the photo in Photoshop I go through my basic workflow to fit the image size I use for my blog.
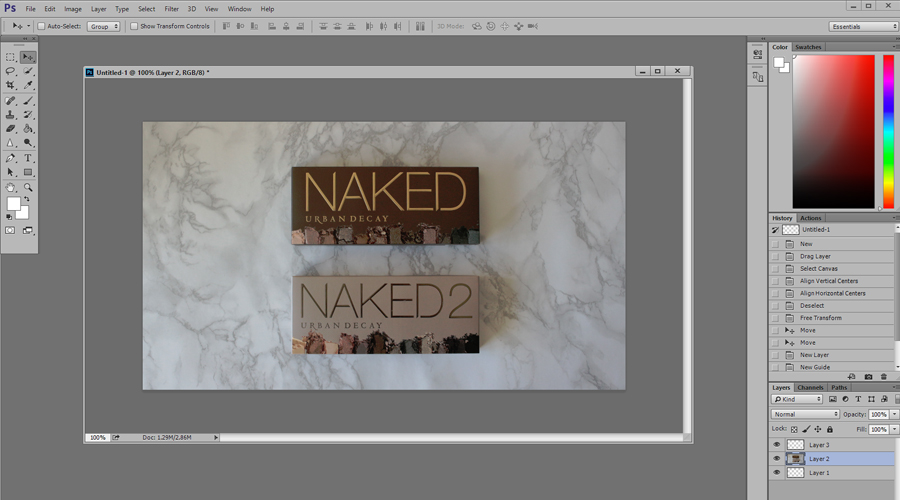
As you can see, I am using a wide-screen format that is not as long in height as the original photo. I tend to keep this in mind when I’m taking the photos and make sure that I have plenty of extra space above and beneath my main focus. I also rotated the photo slightly so that it wasn’t crooked while I was in the Transform tool.
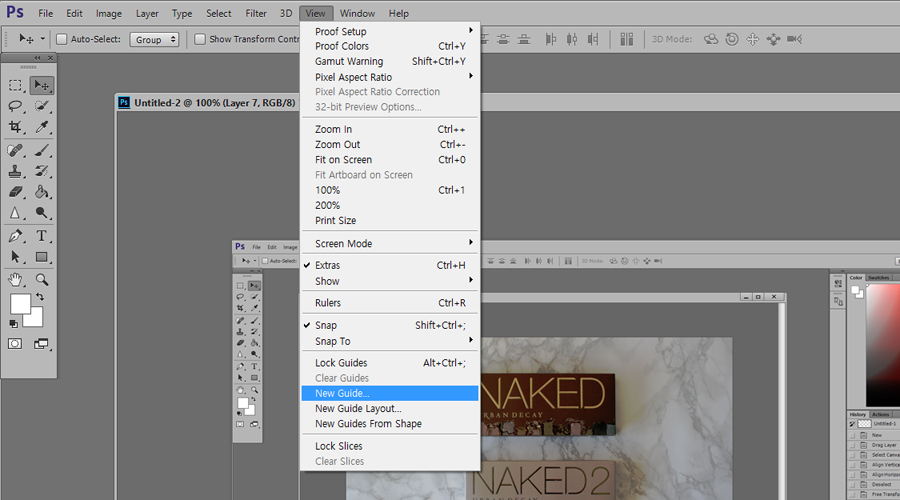
If you need a guideline for centering your photos, go to (View > New Guide).
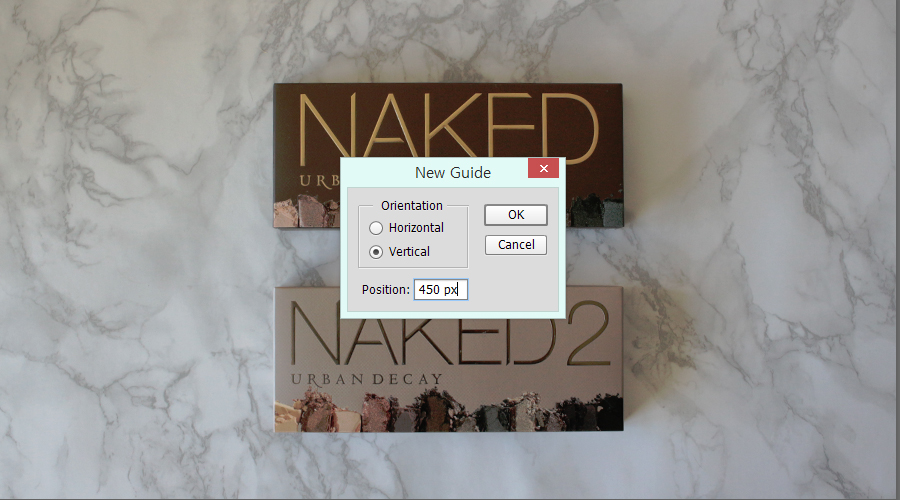
Choose the Vertical option and enter half of your image length. For example, I set my image size to 900 x 500 pixels, so I entered 450 px.
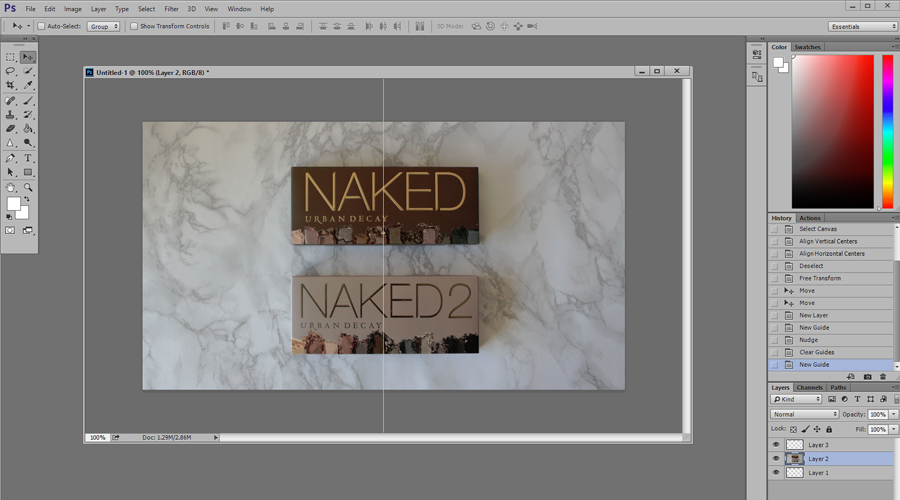
If you want to shift the photo to the left or right (or up and down) ever so slightly, make sure you’re in the Move Tool then tap the arrow keys on your keyboard. Once you’re done centering your photo go back to (View > Clear Guides). Note that you can have more than one guide at a time!
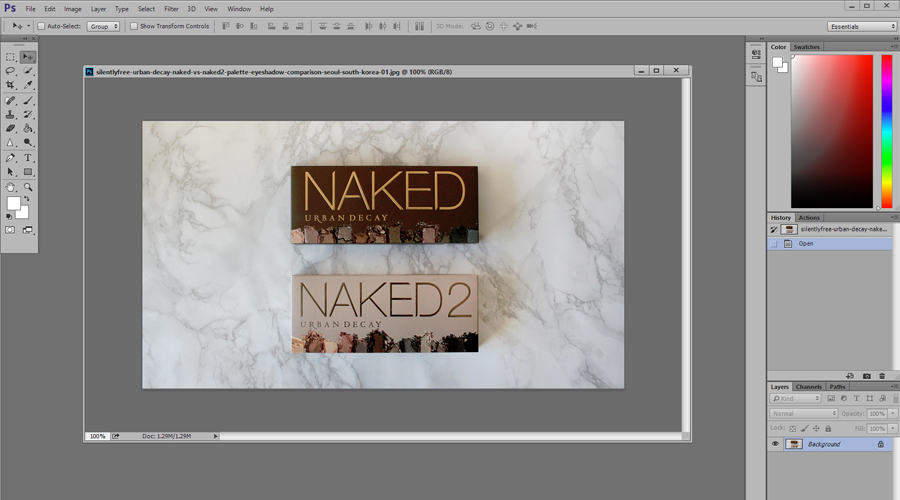
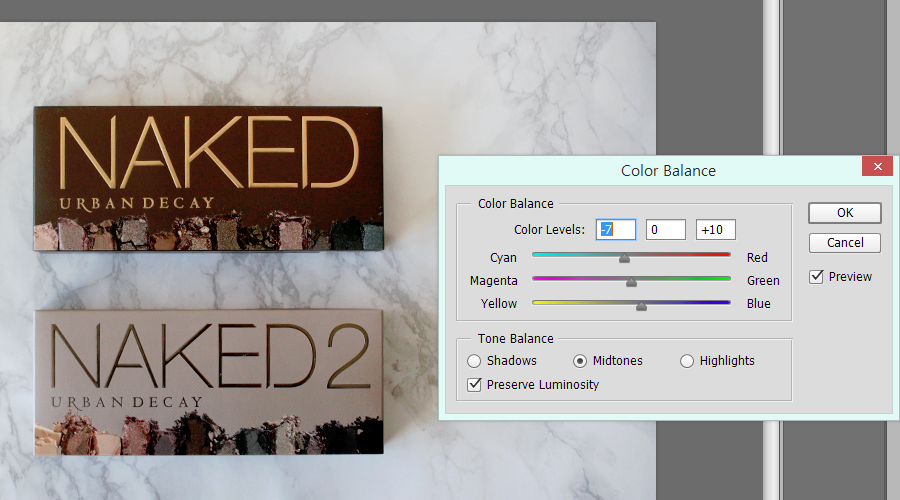
Once you finish retouching the photo, go to (File > Save As) and save the photo. I like to use keywords for the file name, then use two digit numbers at the end. For example:
silentlyfree-urban-decay-naked-vs-naked2-palette-eyeshadow-comparison-seoul-south-korea-01
silentlyfree-urban-decay-naked-vs-naked2-palette-eyeshadow-comparison-seoul-south-korea-02
It’s not always this long, but I’m not afraid to make it long either. When I edit the next photo, all I have to do is change the number in the back. The reason I use double digits is because if I use single digits and save more than 9 photos the order will be mixed up in the folder (I’ll see 10 after 1 instead of 2). If you change the format to JPG it will automatically add the .jpg at the end so you don’t need to type it out. Please note that I don’t really know exactly how SEO works, I just figure it shouldn’t hurt to thoroughly label my photos.
Tutorial for Retouching
Your turn ♥ Do you use a system for saving your blog images?
*I probably should have chosen a different photo for this tutorial, but it was for a blog post I was working on at the time. I’m not sponsored by Urban Decay in any way.

