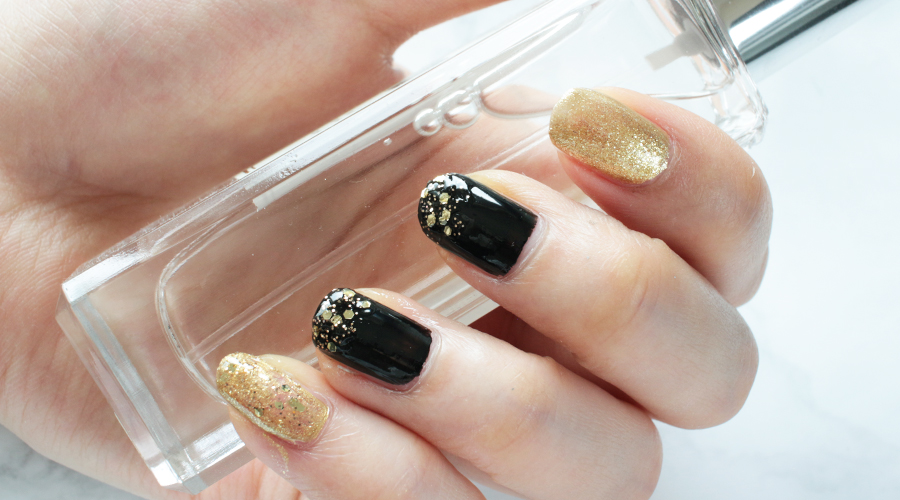
Holidays call for an extra bit of sparkle and one of the easiest ways you can add a little glam is by doing your nails. With some inspiration from Kathryn and Pinterest, I created this gold & black look. I think the black keeps things chic and easy to pair with any outfit, while the gold glitter adds some sparkle!
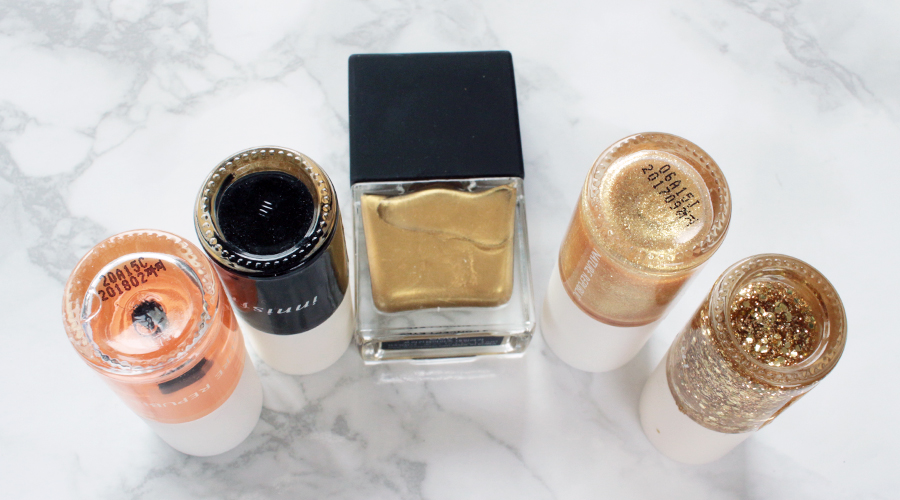
To create this look I used a clear base coat (not sure why it looks orange in the bottle), black, a metallic gold, a gold shimmer, and gold glitter.
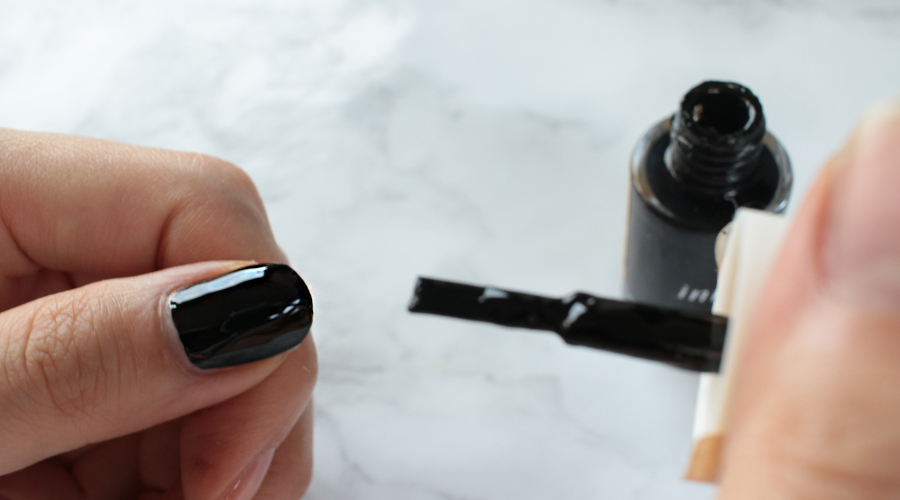
To begin with you want to add a base coat to your nails so that they don’t stain too much when you decide to take off the black lacquer. Then choose 3 nails to be black, and 2 nails to be gold. Personally I think the thumbnail looks better in black because black tends to make things look slimmer!
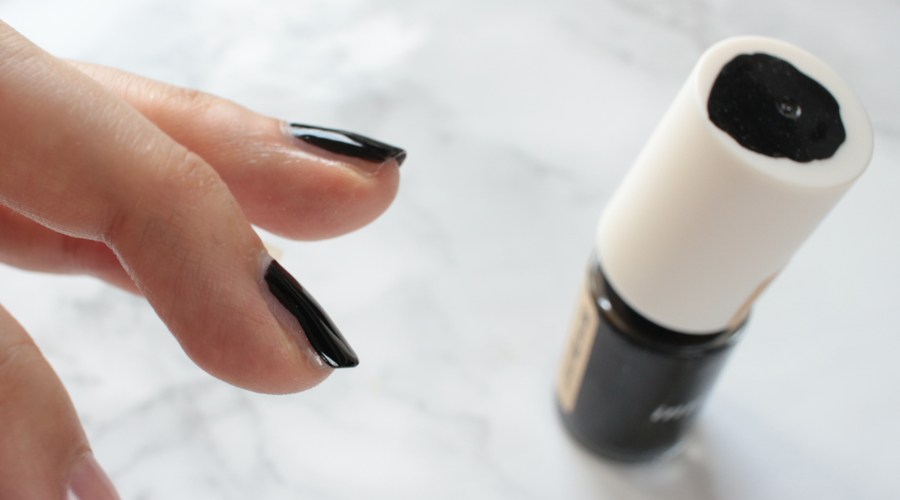
Don’t worry to much about painting the entire nail. I find that when I try to paint the sides the lacquer gets on the skin and it just makes things messy. Plus it makes your nails look wider rather than nice and slim. I promise nobody will notice that you haven’t painted the entire nail. When you meet your friends they will be seeing your nails from arms length away so it’s not really noticeable. I also don’t scrape my cuticles because it just feels unpleasant. When they’re dry I just use a hand lotion or nail oil.
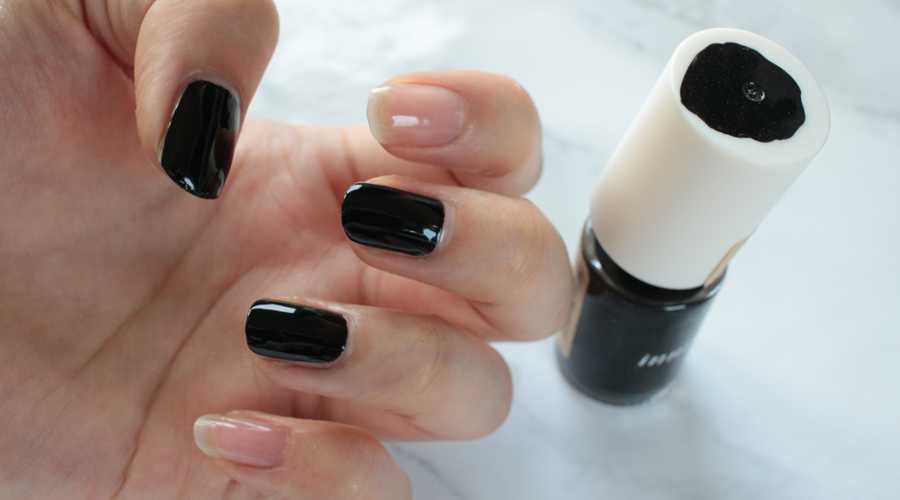
Once you’re done it should look something like this.
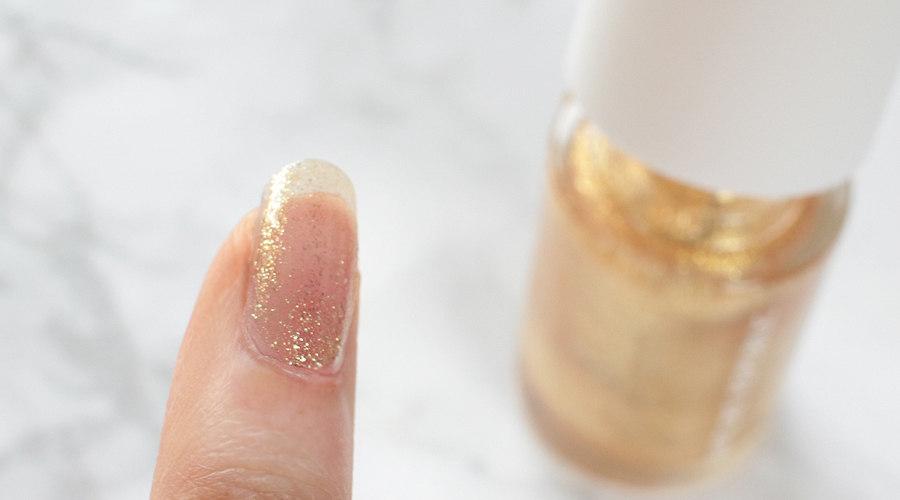
Now, the problem with fine glitter/shimmer is that they usually don’t have enough consistency to make a solid look. As you can see from the photo you can still see the pink color of my nail peeping through. You could wait for it to dry and keep adding layers, but eventually you’re going to have a thick layer of gob on your nail that will easily smudge or scrape off.
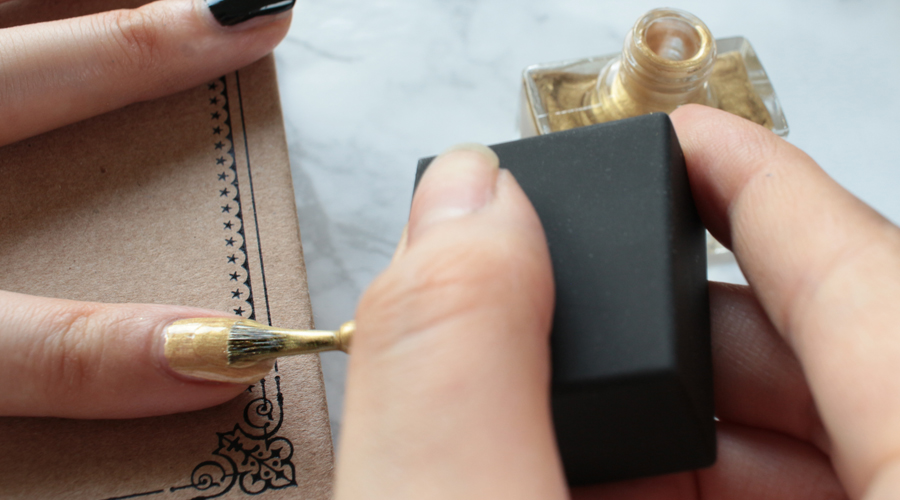
After some experimenting I found the perfect workaround to this problem. I’m going to be using a metallic gold as a base before adding the shimmer on top.
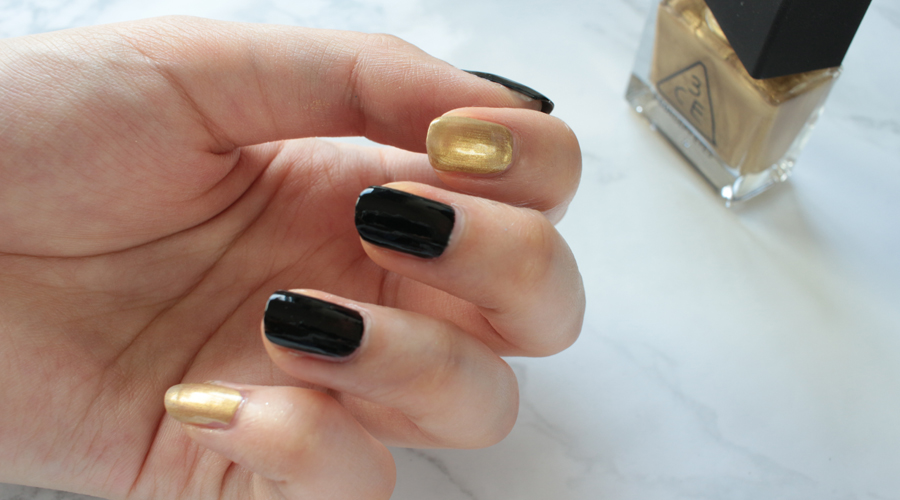
So now your nails should look like this. If you’re not a huge fan of sparkly nails you could stop here and still have a sleek gold & black look.
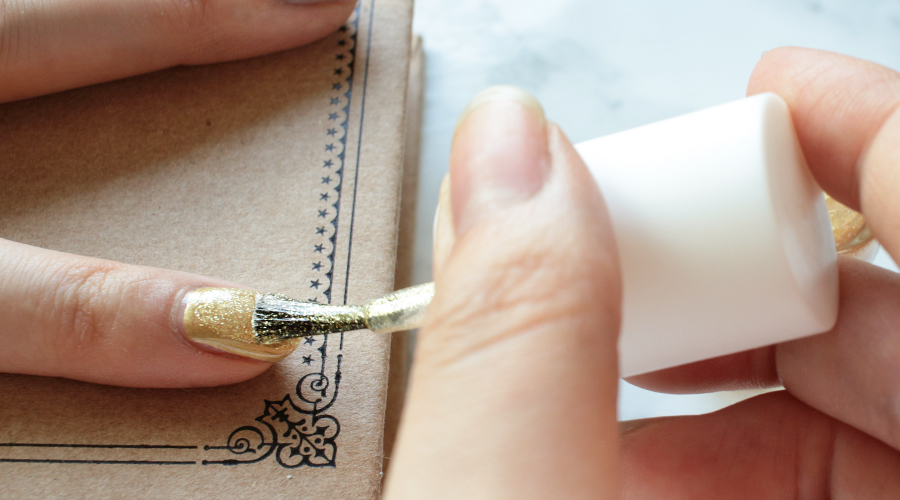
Once the metallic gold dries go ahead and add a coat of shimmer!

You can compare the metallic nail with the gold shimmer nail. The gold shimmer looks completely solid without any of the pink nail peeping through. By using a base you can get this look with 2 coats which saves time and keeps your nail from feeling too thick and gunky.
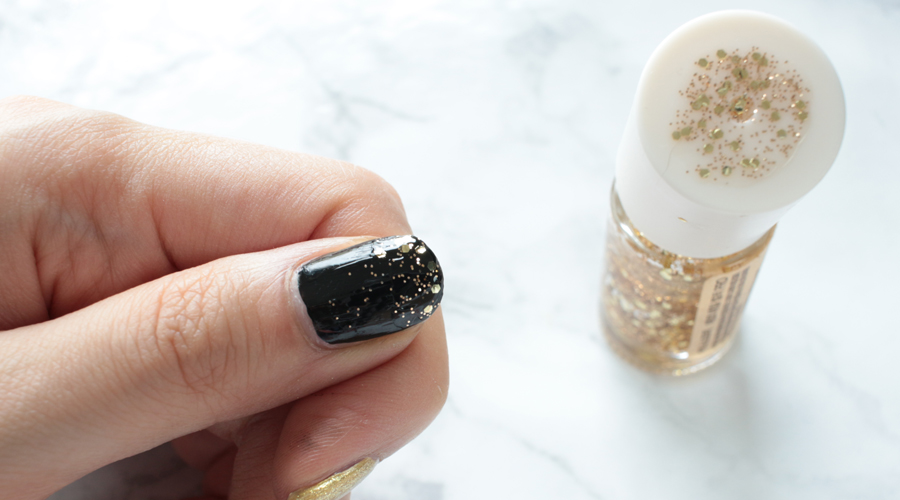
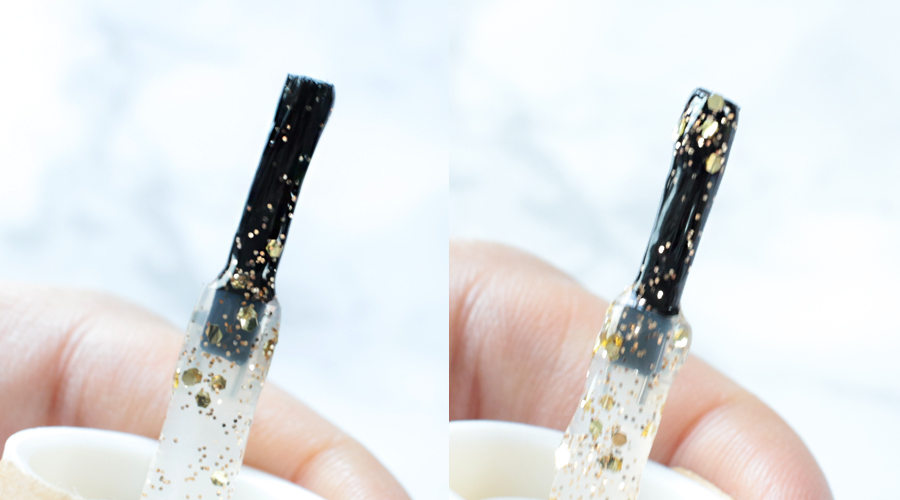
Now it’s time to add the glitter to the black nails! The secret to achieving this look is to first dip the brush and remove the big glitter chunks by swiping it off on the side of the bottle. This way you can add the smaller glitter to your nail first. Then you re-dip to pick up the larger chunks of glitter and place them towards the tip of your nail.
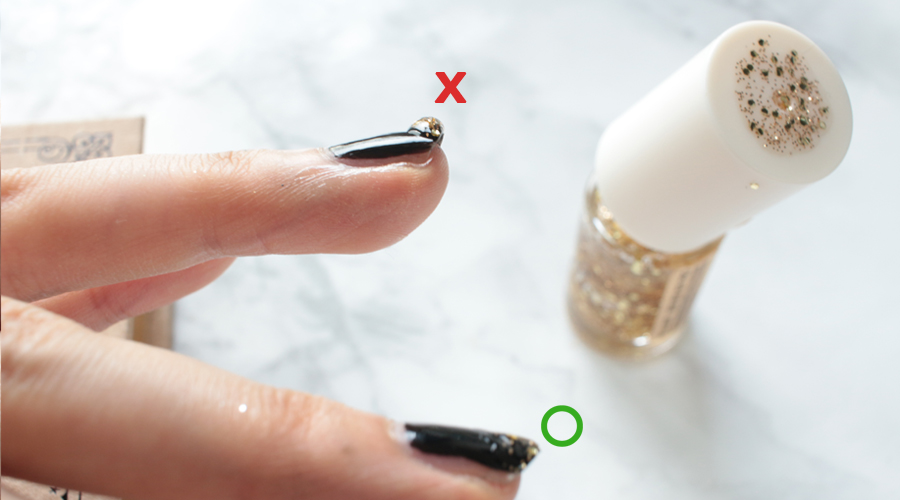
The tricky part is making sure that you don’t have a huge gob of lacquer at the top of your nail. Make sure you swipe off any excess lacquer with the brush to keep it flat. Glitter in a clear lacquer tends to be a bit more gooey in consistency so try not to get too much on your brush at a time.
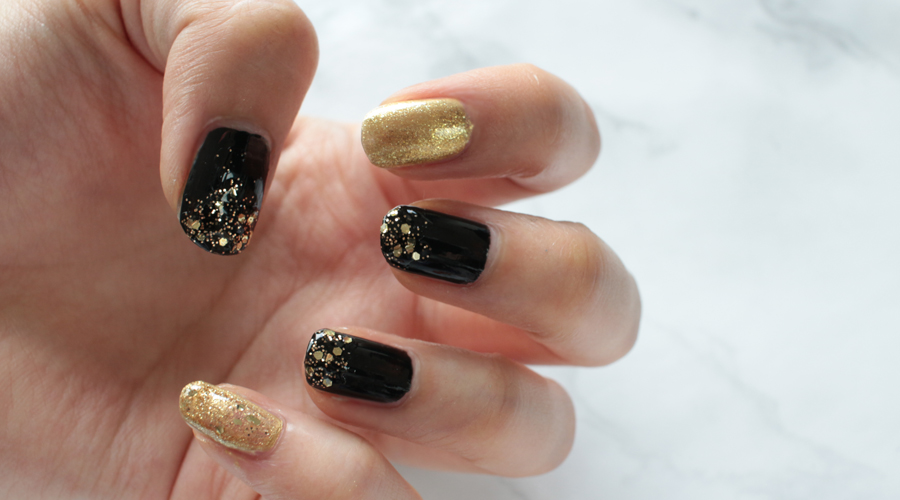 These nails take a little more effort than a single color, but the payoff is totally worth it. I had several compliments by different people over Christmas, so I decided to share the look in this tutorial! I think it would work perfectly for a girls night out or for New Years celebrations with a glass of champagne!
Your turn ♥ What is your favorite color for holiday nails?


