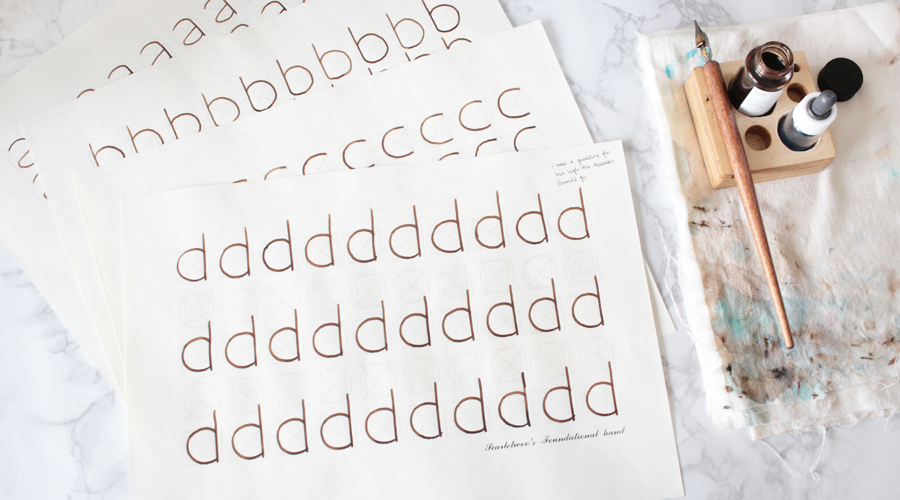
When I first started calligraphy, I didn’t really have a clear idea of how to practice. Part of the problem was that I hadn’t taken any classes, and part of the problem was that information regarding calligraphy is very scattered. I shared in my June Favorites post that I had taken my first calligraphy class, and it confirmed some of my practice methods and also taught me some new things. So today I want to share how I practice calligraphy, as well as some of the things I’ve been working on in the past couple weeks.
#. Decide on One Exemplar
When I decided I wanted to practice traditional calligraphy, I started with Italics. At first I used tracing paper to sort of copy the letters from a book. When I tried writing without tracing, I noticed that I had a lot of difficulty writing the letter ‘a.’ I couldn’t get it to look right so I practiced 8 pages of just the letter ‘a.’ However, I made very little progress and the biggest reason was that I didn’t have a clear idea of what I was trying to get the letter to look like. It seems like there are so many variations of the Italic ‘a’ that it’s enough to make your head spin. If the people who are giving you feedback on your work write their ‘a’ differently from your book, it can be really difficult figuring out what you should be aiming for. So the most important thing is to choose one exemplar that you want to make your letters look like, and when different people give you different advice, note it down as a variation.
#. Use Guidelines
I’m tempted to say that there is no point in practicing calligraphy without guidelines, because practicing without them is like trying to find your way in the dark; it’s possible, but so much easier with a light. Guidelines can show you how tall or wide your letters need to be, and what angle your slants should be at. There are a lot of different types of guidelines available in books or online, but not all of them are good for beginners. Lately I’ve been making my own guidelines because I’ve found that I needed extra lines when studying letter forms.
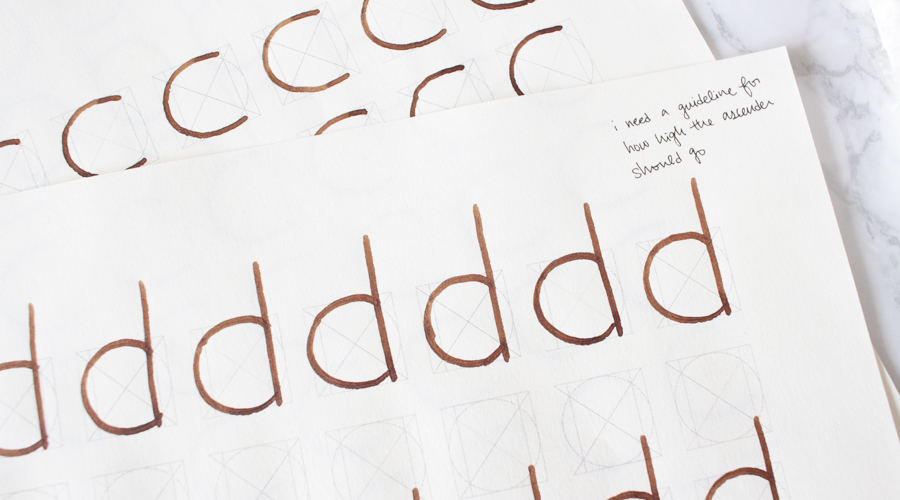
For example, when I was practicing the letter ‘d’ with this guidesheet made by my teacher Scarlet Woo, I was having difficulty figuring how high the ascender needed to be. I loved that her guidesheet applied the geometric box from Sheila Water’s Foundations of Calligraphy (review), but needed some additional training wheels for my practice.
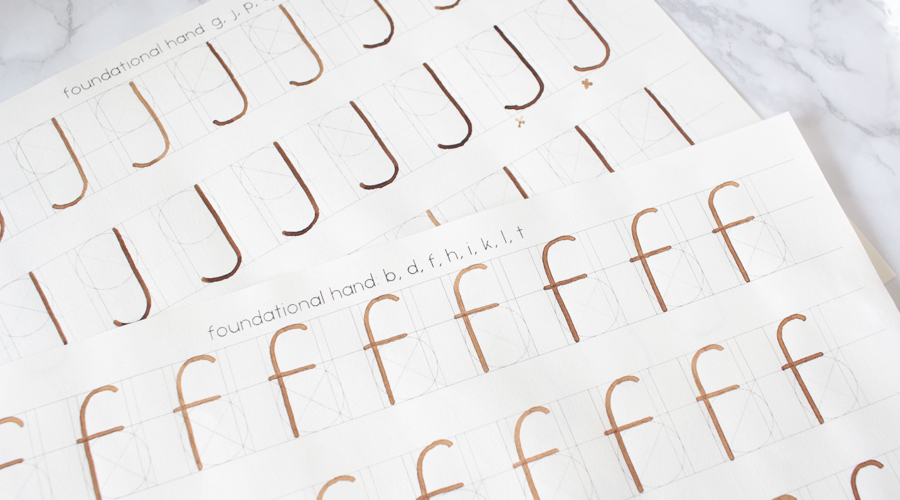
So I started by making a guidesheet for letters that had ascenders and descenders. Making guidesheets was harder than I had anticipated, and it took an entire week to hammer out all the problems I ran into. One of the problems I ran into had to do with the letters ‘f’ and ‘j.’ As you can see from the photo, the letter ‘f’ has a curved ascender so it was hard to practice the curve without a circle guideline helping me out. The same thing happened with ‘j’ and it’s curved descender.
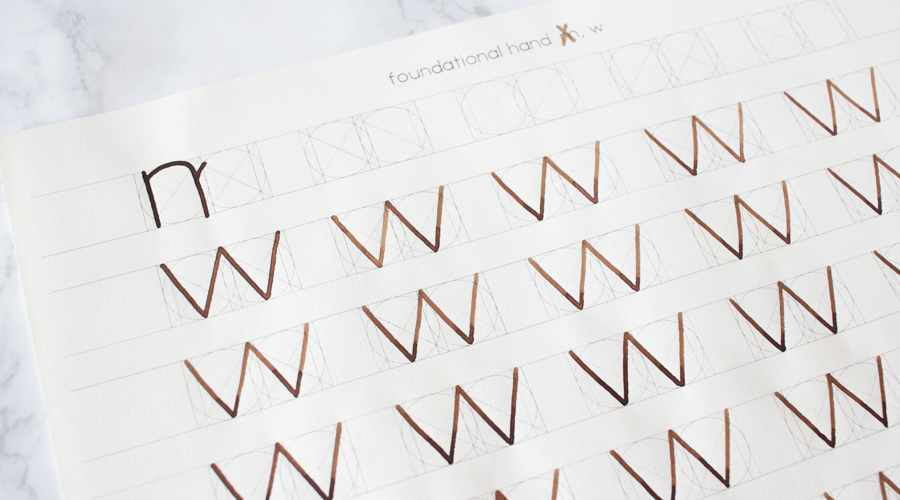
When I created a sheet for doubles like ‘m’ and ‘w’ I found that the letter ‘w’ is wider than the letter ‘m’ and needed to make an entirely different guidesheet for the letter ‘m.’
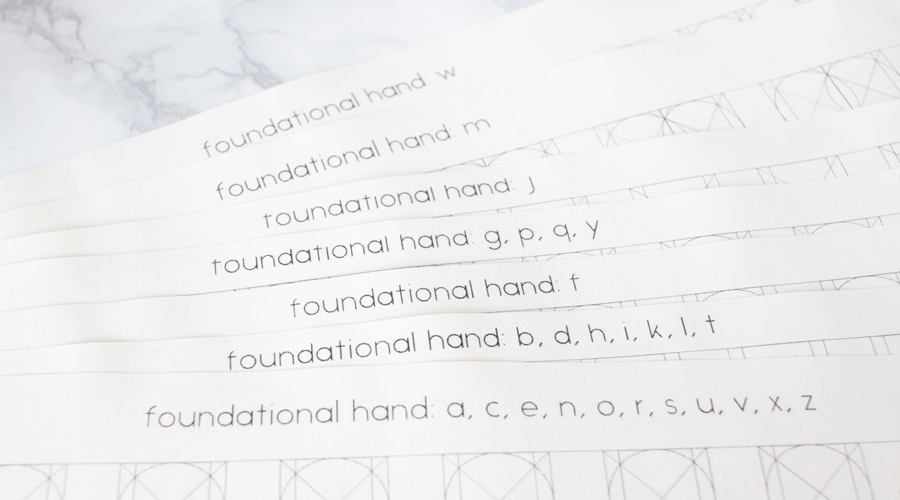
Once I finished, I had a nice set of 7 guidesheets for practicing the skeletal form of the Foundational Hand. Because the Foundational Hand was developed to study the geometric forms that underlies all the other styles of writing, I wanted to make sure I had a clear understanding of all of the letterforms before moving on to the next step. Some people may consider this tedious, too structured, or too robotic, but as a beginner I found myself craving the structure because I simply didn’t have the level of pen control to consistently draw lines and curves the way a well seasoned pro could. I found that meticulous guidesheets helped me focus on the structure of the letters without having to get frustrated or stressed over how shaky my lines were, or how they veered off to the side rather than coming down straight.
#. Practice a Whole Sheet
Once I had my guidesheets, I practiced a whole sheet for each letter. Writing the same letter over and over again is not the most exciting thing in the world. So I always have something entertaining going on in the background while I write; an audiobook, a podcast, or a tv show. Practicing a whole sheet for each letter shows you exactly which parts you struggle with. That way you can take note of which parts you have a hard time with, and focus on how you can fix the problem!
#. Move on to the Next Step
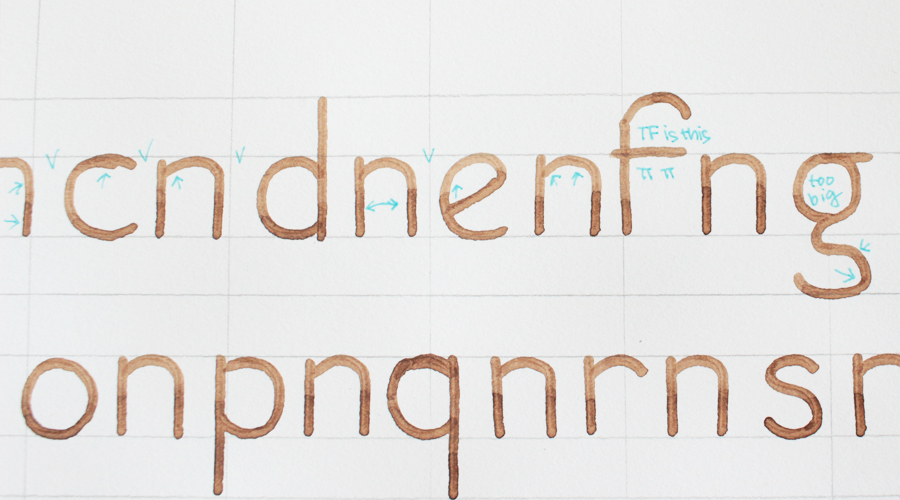
Some people think that guidelines with too many lines will make you dependent on the guidelines. I think that as long as you don’t spend the rest of your life using guidelines, it should be fine. After having practiced 1-2 sheets per letter, I moved to the next step and drew regular guidelines without the circles and lines to help me. I found that because I had practiced with a very specific guideline beforehand, I felt much more confident when moving on to the regular lined guideline and had a clear idea of what my letters were supposed to look like.
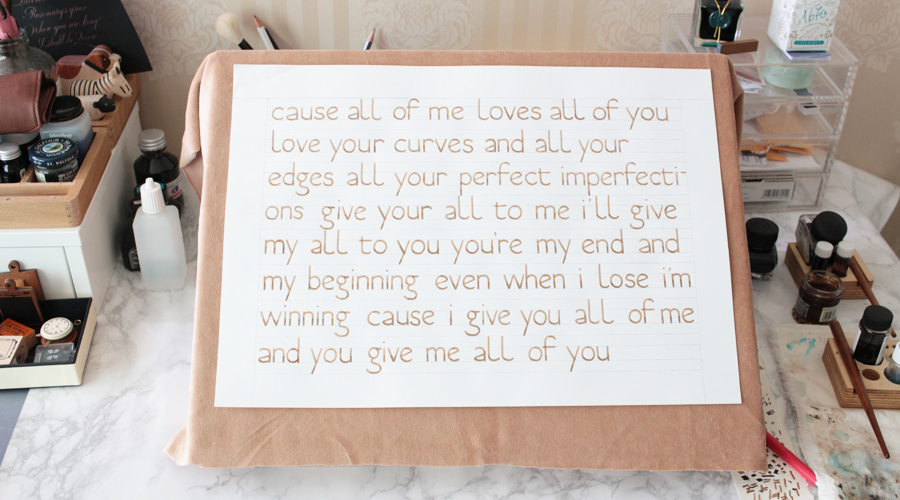
This is only my third page of practice with regular lines, and my letters are already looking a lot more consistent and even. When I compare my work to when I had practiced without specific guidelines I see a clear difference. So if you’ve lacked the confidence to try calligraphy or have wanted to improve your handwriting, give it a try! I write like chicken scratch and my letters looked awful when I started, but now I see that the key is really just practice! If you showed me this picture a few weeks ago and told me I had written it, I probably wouldn’t have believed you. I’m starting to really feel the possibilities that come simply from practice!
Your Turn ♥ Tell me something that you’ve practiced and really saw results for! It can be anything, not just calligraphy!


